Small holes in sheetrock do not always require a professional repair. You can fix many nail holes, screw holes, dents, and small impact damage with a sheetrock repair kit.
Small holes in sheetrock do not always require a professional repair. You can fix many nail holes, screw holes, dents, and small impact damage with a sheetrock repair kit.
A repair kit gives you the basic materials needed for one small project. You avoid buying full-size containers of joint compound, rolls of tape, large sheets of drywall, and tools you may never use again.
Sheetrock repair kits also have limits. They work well for minor surface damage. They are not meant for water-damaged walls, large holes, loose drywall, recurring cracks, or failed seams.

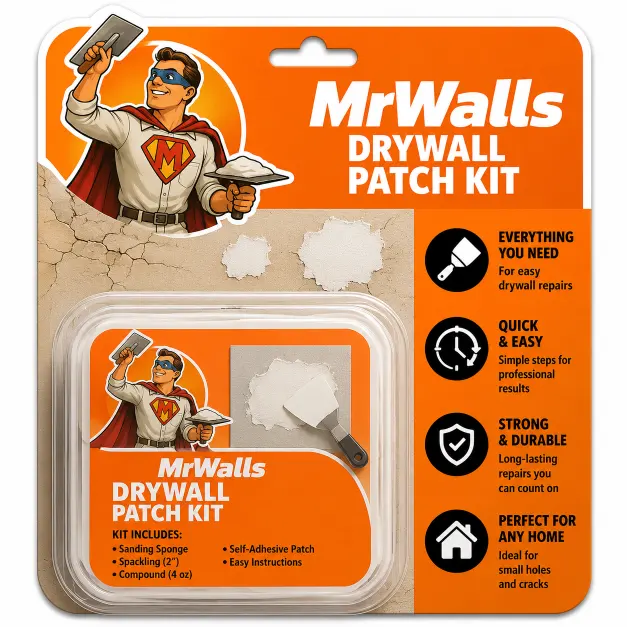
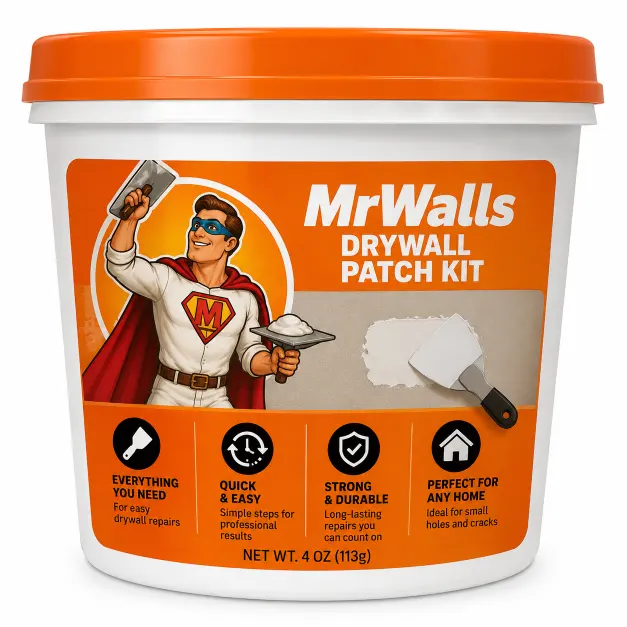
The contents vary by product. A basic sheetrock repair kit often includes:
Some kits include several mesh patch sizes. Others include a reinforced repair plate, primer, or a lightweight compound that dries faster than standard joint compound.
Check the package before buying it. Some products called repair kits only contain a patch. You may still need to buy joint compound, a putty knife, sandpaper, primer, and paint.
A sheetrock repair kit works best for damage limited to a small area.
The wall around the repair must remain solid and dry. A patch cannot correct movement, trapped moisture, damaged framing, or weak drywall.
You Get the Main Supplies in One Package
A kit saves you from finding each product separately. The patch, compound, applicator, and sanding material are usually packaged for the same type of repair.
This makes the process easier if you have never repaired sheetrock. You do not need to choose between different tapes, compounds, knives, and backing methods.
You Buy Less Material
A full bucket of joint compound contains far more material than you need for one nail hole or small patch. Drywall tape also comes in rolls that can cover many rooms.
A repair kit gives you a smaller amount. You pay for less unused material and have less to store when the job is finished.
This matters because an open joint compound does not last forever. It can dry out, develop lumps, or grow mold when stored in poor conditions.
The Cost Fits a Small Repair
Hiring a professional for one tiny hole may cost more than the repair itself. A contractor must still account for travel, work area protection, setup, drying time, sanding, cleanup, and business expenses.
A kit makes more sense when the damage is small and you feel comfortable handling the work. It gives you a low-cost way to improve the wall without scheduling a service visit.
You Can Start the Repair When You Are Ready
Small repairs do not always fit a contractor’s schedule. With a kit, you can complete the work at your own pace.
Most small patches need more than one step. You may apply the first coat, let it dry, sand it, and then add another thin coat. A kit lets you spread the work over an evening or weekend.
The Instructions Match the Product
Different repair products work in different ways. A metal-backed patch does not install the same way as a mesh patch. Lightweight spackling also handles differently from setting-type joint compound.
A packaged kit should include directions for the supplied materials. Follow the drying times and size limits printed on the package.
A Kit Reduces Guesswork
Walking into a home improvement store for one small repair can become confusing. You will find paper tape, mesh tape, premixed compound, setting compound, spackling, repair plates, backing clips, and several knife sizes.
A kit narrows those choices. It provides a simple method for a specific range of damage.
A bucket of joint compound and a roll of tape are useful when you have several repairs. They are also better for long cracks, open seams, corner repairs, and newly installed drywall patches.
But compound and tape alone will not repair every hole.
The joint compound has little structural strength when applied across an unsupported opening. If you pack the compound into a larger hole, it can shrink, sag, crack, or fall into the wall.
Drywall tape also needs support. It works across seams between solid pieces of sheetrock. It does not replace missing wall material by itself.
A repair kit often includes a mesh or reinforced patch that spans the opening. The patch supports the compound while creating a surface over the hole.
For one small repair, a kit gives you a better mix of materials. For many repairs or larger sections of damage, separate professional supplies become more practical.
Buy separate supplies when you have:
You may get a lower cost per repair by buying full-size materials. The total purchase will cost more, but you will have enough material for many repairs.
A sheetrock repair kit costs less than professional service because you provide the labor. That does not mean a kit produces the same result in every situation.
Professional sheetrock repair includes more than filling a hole. A skilled repair contractor evaluates the cause, supports the patch, controls the buildup of joint compound, matches the wall texture, primes the repair, and prepares it for paint.
The finished appearance also depends on where the damage sits. A small patch in a dim hallway can be forgiving. The same patch on a smooth wall beside a large window can show every ridge and sanding mark.
Use a kit when the repair is small, stable, dry, and located in an area where you can work safely.
A professional is also a better choice when you plan to repaint an entire room and want the repairs completed at the same time.
Many sheetrock repair kits use a square metal or fiberglass mesh patch. You place the patch over the hole and cover it with compound.
This method is simple, but the patch sits on top of the existing wall. You must apply compound beyond the edges to hide its thickness.
A small patch may need two or three thin coats. Each coat should extend farther than the coat before it. Applying one thick coat can leave a raised area that remains visible after painting.
Mesh patches work best away from inside corners, trim, outlets, and wall edges. These areas provide less room to spread the compound.
Confirm the maximum hole size and recommended drying time. Check whether the kit requires any supplies that are not included.
Remove loose sheetrock paper, broken gypsum, dust, and paint chips. Do not pull away material that remains firmly attached.
The area around the hole must be clean, solid, and dry.
Center the patch over the opening. Press the adhesive edges firmly against the wall.
The patch should lie flat without wrinkles or raised corners.
Spread a thin layer of compound across the patch. Cover the patch and extend the compound past its edges.
Avoid leaving thick ridges. Excess compound creates more sanding and makes the finished repair harder to hide.
Allow the first coat to dry for the time stated on the package. Compound that looks dry on the surface can remain soft underneath.
Sanding too early can pull the compound away from the patch.
Sand or scrape down high spots. Apply another thin coat that extends farther across the wall.
Repeat the process until you cannot see the patch pattern or feel a raised edge.
Use light pressure. Heavy sanding can expose the patch or damage the surrounding sheetrock paper.
Shine a work light across the wall from the side. This makes ridges, scratches, and low spots easier to see.
Joint compound absorbs paint differently from a painted wall. Apply drywall primer over the repair before using the finish paint.
Skipping primer can leave a dull spot known as flashing.
Use matching paint when possible. Color and sheen can change as paint ages, so a small touch-up may remain visible.
Painting the wall from corner to corner usually gives you a more consistent finish.
The patch must extend beyond the damaged opening onto solid sheetrock. A patch with little overlap can move or release from the wall.
A patch depends on the surrounding surface. Remove loose paper and crumbling gypsum before starting.
Thick compound takes longer to dry and is harder to sand flat. Several thin coats produce a better result.
Stop sanding when the surface feels smooth. If you expose the mesh, apply another thin coat instead of continuing to sand.
Paint often looks different over bare joint compound. Primer seals the surface and reduces uneven sheen.
Do not cover a wet area with a patch. Find and stop the leak first. Wet, swollen, or soft sheetrock needs to be cut out and replaced.
A repair kit will not stop building movement. If a crack keeps returning, the sheetrock or framing may need added support.
A repair kit covers small openings. It does not restore sheetrock that has lost its strength.
Cut out the damaged section when the wall is:
A cutout repair uses a fitted piece of sheetrock attached to studs or wood backing. The seams get taped, coated, sanded, primed, and painted.
This method takes more work, but it restores the missing wall material instead of covering the opening with a surface patch.
A sheetrock repair kit makes sense for one or two small repairs. It keeps the cost low, gives you the main supplies, and reduces unused material.
Choose a kit when the wall is dry and solid, the damage falls within the stated size limit, and you are willing to apply several thin coats.
Buy separate compound and tape when you have many small repairs or already own the needed tools.
Hire a professional when the damage involves moisture, movement, large openings, failed seams, or texture matching. Professional help also makes sense when the repaired area needs to blend into a smooth wall under strong lighting.
The limit depends on the patch. Always follow the size listed by the manufacturer. Larger holes need backing and a fitted piece of sheetrock.
You can fill nail holes, screw holes, and shallow dents with compound. Open holes need support from a patch, backing material, or replacement sheetrock.
Most mesh patches need two or three thin coats. Let each coat dry before sanding or recoating.
Yes. Primer seals the joint compound and helps the finish paint maintain a consistent color and sheen.
Only after the leak has stopped and the sheetrock has dried without losing its strength. Remove and replace sheetrock that feels soft, swollen, crumbling, moldy, or contaminated.
Most small patch kits are not designed for peeling seams. Failed tape needs removal, new tape, and wider coats of joint compound.
You can use a kit for a small, stable hole. Hire a professional when you need texture matching, an invisible finish, several repairs, or work near plumbing and electrical wiring.